Tuesday, March 22, 2011

Life is Good....

Anyone that knows me knows that I think my life is pretty good. So when I saw this decor element  from Stampin' Up I just had to have it!
If you ever visit my home, this decor element will be right above my closet door in my foyer.  The best part is that it adds a special touch to my home without taking hours to do....about 15-20 minutes tops! I know what some of you are saying.....its got to be a pain to take off, and then there is repainting. Not true, I've taken down 2 decor elements in my office during my remodel and they didn't damage the wall and peeled right off---without peeling the paint! So be sure to look at all the cute and versatile decor elements to add that special touch to your home! Call me today to earn some of them free....just host a party at your home! Remember to stamp a little love in 2011!

Monday, March 21, 2011

Decorating made easy

Here is my next example of how easy decorating your home or office can be with Stampin' Up's decor elements line.

I added the shelf life decor elements to my husband's office.....he knows by now that no room is off limits when it comes to decor elements. I placed the different images above shelves that he had hung in his office but were bare. The images gave his office a finished look without taking alot of time. I think it took me a whole 20 minutes to put up all 6 of the images that came in the shelf life set.  The best part is when we get tired of them, they come off the wall without damaging the paint! To see all the different decor elements go to the decor elements catalog listed right here on my blog. Thanks for looking and remember to stamp a little love in 2011!

Sunday, March 20, 2011

Decor Elements


Stampin' Up came out with a new line of products a couple of years ago called decor elements. At first, I was very skeptical...why is a rubber stamping coming out with a vinyl cling for walls? Well, I love this line! The latest creation using decor elements are the above frames, which will be hung in my stamping room. I took chocolate brown frames from IKEA and put a textured piece of paper behind the glass (pear pizzazz, peach parfait, and soft suede). I used my big shot embossing folder to emboss the sheets of paper,  that would be the background for the frame. Next, I took vinyl (Stampin' Up sells sheets of vinyl in various colors to be used with the big shot) and die cut the letters for the frame. I then added the letters onto the glass of the frame.  So, now everytime I look up from my computer I'll see: Inspire, create, share---part of Stampin'Up's mission statement.  Here's what they look like hung on the wall:

Look for more decor element samples during the next week or so....and believe me, I have tons of examples just in my house. Thanks for looking and remember to stamp a little love in 2011!

Tuesday, March 15, 2011

Pardon my dust

Well, on my last post you saw my nifty message board for my "new" stamping place. Although, this may not necessarily be a "stamping" creation it is a creation none the less. I am lucky enough to have a husband who supports my addiction to stamping---yeah for me! He has been working very hard on giving me my own personalized office to do all my stamping projects. So, I thought I'd share with you what we've done so far. Maybe these pictures will give you some ideas too on how to organize your many punches, markers etc.
This first view is of my custom desk he made me...wall to wall desk top! Gives me enough space to cut, stamp, punch, and compile all on this desk. Its about 10'0" long....so I can never say, I don't have enough work space.  You'll also notice that all my punches (and there are alot of them) are hung on the wall and visible along with my standard and jumbo rolls. There are some nifty and inexpensive rods at IKEA that did the trick for these. Both my punches and rolls fit perfectly on them!
This picture gives you a better idea of what the rods look like. I also bought myself a clip it up ribbon organizer, and some buckets (for markers, glitter etc). So far so good huh? We are half way there....now he just needs to build the custom paper, ink, and stamp book shelves we've mapped out. Did I mention I'm lucky....remember to stamp a little love in 2011, I know I will be! Thanks for looking.

Thursday, March 10, 2011

Message Board

Yes, I am still alive and creating! Its been a crazy couple of weeks but I am starting to get back in the swing of things. My wonderful husband is renovating my office.....very exciting yet very difficult to get things done. We still have a long way to go on the renovation but my custom desk is done, walls are painted, and some shelving is up. So, its back to stamping!
So, as I begin the creative juices flowing where else would I start but a new message board for my office.
I made this message board using a magnetic board I picked up at Ikea. I then applied one of the many wonderful items I got free during sale-a-bration---a chalkboard decor elements. By the way, there is still time to get a free stamp set, ribbon, or decor element during sale-a-bration (promotion ends March 31st). Sale-a-bration is the perfect time to stock up on paper, inks and the other essentials because for every $50 you spend you get to choose a free item from the sale-a-bration brochure. After applying the decor element chalkboard, I added some magnetic flowers. The flowers were made using my Fun Flowers die in the big shot. I did three flowers using Peach Parfait, Pear Pizzazz and Soft Suede and added a fabric designer brad (found in Stampin' Up's Occasion Mini catalog). Can't wait to hang this up in my new stamping spot! Thanks for looking and remember to stamp a little love in 2011!

Wednesday, February 16, 2011

Pick A Petal

Today's creation uses the stamp set Pick A Petal from Stampin' Up. I saw this card on someone's blog and thought I would try to recreate it. I stamped the petals in melon mambo. I then created a two step technique by stamping an outline in basic black. Next, I  cut out several petals (4 for the bottom flower and 2 for the top flower) and adhered them on top of the stamped images. It creates a really neat 3D effect. I then stamped my sentiment from the sincere salutations stamp set in basic black. Quick, easy and really fun! Thanks for looking and remember to stamp a little love in 2011!

Monday, February 14, 2011

Tea light holder

How does roof flashing and this clever little project go together? It's all possible with the BIG SHOT! I got this clever idea from my creative upline. She made the same type tea light holder for me as a holiday present except with snowflakes. When, I saw it, I just had to try it. So, off I went to a home improvement store to get some roof flashing. You'll need to cut the flashing to fit the die, and then just let the big shot do the rest.
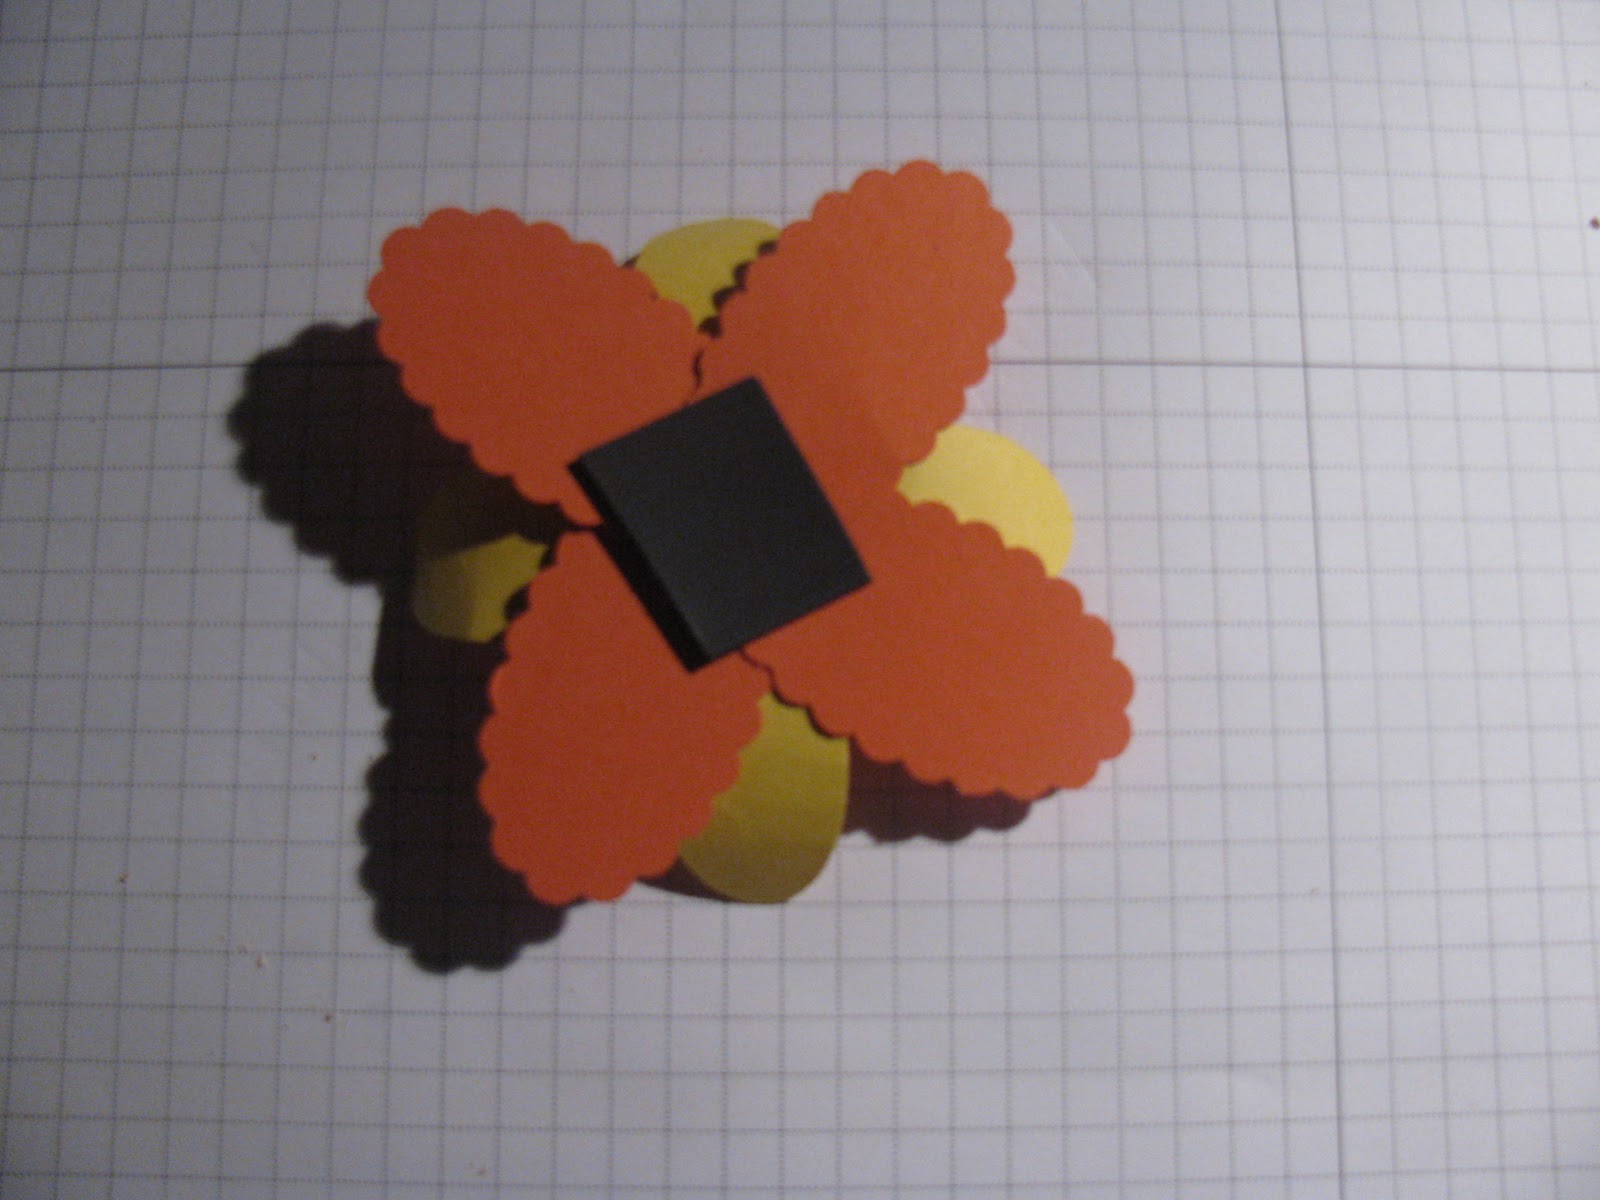
I then took all the layers of the flowers out and hot glued them together. Its that simple....
Final touch was to add a tea light (the kind you find with the metal around the candle) in the center of the flower. I did not hot glue the candle because I want to be able to easily put another one in there when this one is done burning. Thanks for looking and remember to stamp or big shot a little love in 2011!

Saturday, February 12, 2011

Valentine Treats

Its crunch time for Valentine treat bags! All the kids treat bags for their friends are done, packed and ready to be brought to school on Monday. Now that just leaves the important people in mom's life! I came up with this little treat container from a recent Stampin' Up publication that demonstrators get (just another perk of being a SU demo).   I sat down and created these heart pouches for some special people I want to remember on Monday. You really can't tell from the picture but I embossed the pouch with a texturz plate on my Big Shot, used some punches (heart to heart, and the modern label) to embellish the outside of the pouch and added "happy valentine's day" from the teeny tiny wishes stamp set. The next decision: what to put in the pouches??
Nothing other than 2 peppermint patties! I used some ribbon to tie the patty (they have new packaging so the ribbon was needed to hold down the sides), added a scallop to each side with a heart from the Simply Said stamp set in the center and voila---Done! By the way, if you are jealous of all the great resources Stampin' Up provides their demos---don't be JOIN! Stampin' Up is having a wonderful promotion through March 31st. You get your starter kit for 15% off and get $50 in additional items for free.....so contact me today to join. Thanks for looking and remember to stamp some love in 2011!

Friday, February 4, 2011

Valentine treat bags

Valentine's Day is right around the corner, so I thought I'd make some treat bags my kids could give out to their classmates. The tricky part is coming up with a gender neutral treat bag that both my son and daughter could give out! So, here is what I came up with. I used the sweet centers and teeny tiny wishes stamp set from Stampin' Up. I figured the hot air balloon was perfect, and then stamped happy valentine's day from the teeny tiny wishes set. I used my 1-3/4" circle and punched out a bunch of black circles to cover the "I LOVE YOU" on the hot air balloon.....I highly doubt my 3rd grade boy would want to hand these out to the girls or boys for that matter in his class if it said love anywhere on it! Then, I punched out a bunch of hearts with my extra large heart punch and heart to heart punch. They are pretty quick to make, thank goodness because I've got another 44 to make. Thanks for looking and remember to stamp a little love in 2011!

Thursday, February 3, 2011

Desk top calendar

I absolutely love creating special gifts for people during various holidays. I think it shows people how much we really care about them when we take the time to "create" something for them. Every year, for Christmas, I create about 8-10 calendars for aunts, uncles, grandparents, and of course daddy & mommy too! This is one of the 12 pages on the desk top calendars (these calendars are great--you can find them in the Stampin' Up Catalog on page 170) that I created this year.
These calendars are great because they take up very little space and "flip" through the year. The best part is that the scapped pages with the pictures can be torn out at the end of the year to keep. For this page in particular, I used Ever After (I know its a retired set, but I just absolutely love it---so I use it for my personal creations all the time). I used designer series paper as the base added a strip with the pinking heart border (chocolate chip), and used lots of pinks (blusing bride and melon mambo). I also used my big shot to create the buttons ...LOVE MY BIG SHOT! Not only do you get a functional gift but something that shows how much you care. Thanks for looking and remember to stamp a little love in 2011!

Monday, January 31, 2011

Lollipop Bouquet

Well, if you are like me, you are starting to think of valentine's day and all the teachers and important people in your lives. I always try to make a unique gift for them, and this might just be one of them this year.  I took some dum-dum lollipops and wrapped them in designer series paper. On the top of the lollipops, I added a scalloped punch and a die cut flower from the big shot. In the center, I used a half pearl to finish the "flower" off.
Made a box out of rich razzleberry and put a foam insert inside the box. The foam helps the lollipops stay put in the box. You could also make these flowers with heart shaped chocolate lollipops, bite sized snickers etc (you'll just have to attached them to a stick) to change things up a bit. Thanks for looking and remember to stamp a little love in 2011!

Thursday, January 27, 2011

Photo cube

Well for this project I combined two of my loves: my kids and stamping! I took a photo cube and adhered designer series paper over all the sides but the bottom. I placed a mat around each of the pictures to add another layer. The final step was the embellishments, which in this project were the paper daisies! The paper daisies are so great because you can color them. How you say? You put a few drops of our wonderful reinkers in water, stir the ink, and place the paper daisy in the reinker! It's that easy. I also used some basic pearls and rhinestones to put in the centers of the paper daisies. The hardest part of this project was picking the pictures.

What a great way to show off those special people in your life. Thanks for looking and remember to stamp a little love in 2011!

Wednesday, January 26, 2011

Flower Magnet

I absolutely love the embellishments in the Stampin' Up Occasions Mini catalog! One of these embellishments is the fabric designer brads. At my last stamp camp, everyone that registered early got to make one of these super easy and fun flower magnets. All you need to recreate this flower is your oval scallop punch, your oval punch, and your scallop punch. I picked tangerine tango, daffodil delight and regal rose as my color choices but you can pick whatever you like (you could also use some designer series paper). Once you've compiled your flower, just put one of those lovely fabric designer brads in the center. I would recommend using sticky strip to adhere the layers of paper together rather than regular adhesive. Then, on the back side, I placed a 1" x 1" piece of magnet so that I can use it as a magnetic.
What a great way to spruce up the side of your refrigerator, and keep all those important notes up there too! Thanks for looking and remember to stamp a little love in 2011!

Friday, January 21, 2011

The last of the birthdays....

Well, this is it--the last of the birthday cards we will be making at my stamp camp. I cased this card from a shoebox I did with some other talented stampers...fellow Stampin' Up demonstrators. I used always artichoke card stock for my base and added a layer of very vanilla that was embossed with my texturz plates on my big shot. I did something different though, I added chocolae chip ink to the texturz plate so that you get a 2-toned textured base. I then added a strip of cajun craze and 3 half oval punchouts. Then got my star punch, and designer label punch and put the finishing touches on this card. Simple yet very versatile! Hope you enjoyed my posts on birthdays and remember to stamp a little love in 2011!

Wednesday, January 19, 2011

It's in the bag!

I don't know if you've gotten a chance to look at all the great new products in Stampin' Up's Occasion mini but they are great! They came out with some great embellishments....ribbon, fabric, fabric brads, buttons, and great glitter brads I used in this card! This is the fifth card we will be making on Sunday at my nothing but birthday cards stamp camp. I used pumpkin pie as my base for this card and ran it through my Big Shot with a texturz plate (do you see a pattern...I'm addicted to my texturz plates). Added a strip of designer series paper, and punched out some circles with the bag from the Birthday Bakery set.  I then colored it in with our wonderful markers. The card still needed something and that's when I reached for those great glitter brads....just the right touch! Remember to stamp a little love in 2011.

Monday, January 17, 2011

Happy Birthday to You!

As most of my regulars know, I have been prepping for my stamp camp on the 23rd and its all about birthdays! We will be making 6 birthday cards and I'd like to share one of those 6 with you. I used   Stampin' Up's stamp set Party Hearty...such a versatile set. Its got all the elements of a great party....party hats, presents, and of course cupcakes! I used  a whisper white card base and then took 2 strips of  paper, one of each: wild wasabi and tempting turquoise. I ran those through my Big Shot with a texturz plate, stamped the party hats in old olive, rich razzleberry, and melon mambo. Added a 1-3/8" circle punch behind each hat, and added some early expresso ribbon to complete the card. The "party hearty" was stamped in early expresso and punched out using the word window punch and attached to the large designer label. Stampin' Up's punches add such great elements to cards and scrapbook pages....just love using them. Want to see what else we will be creating Sunday...check back tomorrow. I've got two more creations to share with you before Sunday! Remember to stamp a little love in 2011.

Thursday, January 13, 2011

Cheers to you!

I have been busy prepping for my upcoming stamp camp and its all about BIRTHDAYS!! We will be making 6 birthday cards, you've seen some of them already. Well, this is the latest creation that will be made at my stamp camp. I used the Stampin' Up cheers to you stamp set....such a fun set. I used whisper white as the base of this card and then embossed it with the large polka dots texturz plate with my Big Shot. Its hard to see in the picture but it adds just the right pizzazz to finish this card. I stamped 4 of the beverages in the stamp set and then colored them in with my pastels---don't use them enough! They add a subtle but great color for this card. Punched all the drinks out with my 1-3/8" square punch and added it to a piece of Pacific Point card stock, added some ribbon and the saying and viola birthday card complete! If you want to come make this card, my stamp camp will be the 23rd of January visit my website at http://www.stampwithlora.stampinup.net/ for more details on the cost and what the class includes. Hope you enjoyed and remember to stamp a little love in 2011!

Wednesday, January 12, 2011

Bring on the cake....take 2!

I just love my new stamp set from the Stampin' Up Occasions Mini! This is the second card I made with the "Bring on the Cake" stamp set and just love it! I am always lacking in masculine cards so I thought I'd try to make one geared toward the male gender. I used More Mustard card stock as my base and wanted to make a unique background so I took some 1-3/4" circles and ran them through my Big Shot with the texturz plate. Its hard to see in the picture but there are mini polka dots that are on the 1-3/4" circles. Then I used the cake stamp from the set and colored it in more mustard, cherry cobbler, and pear pizzazz markers. Thanks for looking and remember to stamp a little love in 2011!

Thursday, January 6, 2011

Bring on the cake

I am getting ready for my upcoming stamp camp where we will be creating 6 birthday cards with envelopes and came up with this card. Its very similiar to a card featured in the Stampin' Up Occasions Mini featuring the new set "Bring on the Cake". I tweaked it a bit and came up with this card, which all my stamp camp attendees will be making. I used the in color Poppy Parade as the base of my card, with whisper white on top of that for my stamped image area. I created the base of my cake platter with Stampin' Up's oval punch (cut in half) and then a scalloped edged strip of paper for the top of the platter. I then stamped both the "happy Birthday" and "so many candles and so little cake" in basic black ink and colored in where needed with our wonderful markers. I used a strip of tempting turquoise to seperate the 2 sentiments. My final touch are the candles at the top that I made with a 3/4" square punch and made strips/candles.
Thanks for looking, and if you want to make this card be sure to reserve your spot at my January 23rd stamp camp. For more information please contact me! Remember to stamp a little love in 2011!

Tuesday, January 4, 2011

Just Believe

This is a card we did at a shoebox! I am part of a very talented group of stampers and this is one of those stampers creations. We used Rich Razzleberry as the base and stamped the flowers from the Stampin' Up Just Believe set in versamark.  We then used our wonderful Big Shot top note die to make the overhang for this card. We used our markers are colored in the flowers with old olive and rich razzleberry to create the 2-toned colored flowers.
Here is what the card looks like in the inside:
Wrapped some old olive ribbon around the bottom and created a unique thank you card. Thanks for looking and remember to stamp some love in 2011!